Did you know that proper mixing techniques for HCG injections are vital to achieve safe and effective results? Following the correct safety guidelines is crucial to ensure optimal outcomes and avoid any potential risks or complications. In this article, I will guide you through the essential steps and precautions for safely mixing HCG injections. By understanding and implementing these guidelines, you can confidently prepare and administer your HCG injections while prioritizing your health and well-being.
Key Takeaways:
- Properly wash your hands and gather all necessary materials before starting the mixing process.
- Ensure the sterility of vials and needles by using alcohol wipes and avoiding contamination.
- Draw up the appropriate amount of bacteriostatic water using a syringe with accurate measurements.
- Inject the bacteriostatic water into the lyophilized HCG vial slowly and gently, avoiding force.
- Mix the reconstituted HCG solution by gently swirling, ensuring powder dissolution without vigorous shaking.
- Follow the guidance of a medical provider for the administration of HCG injections, including dosage and frequency.
- Store the reconstituted HCG in the refrigerator and adhere to the recommended lifespan.
Step 1: Wash Your Hands and Gather Your Materials
The first step in safely mixing HCG injections is to wash your hands thoroughly with soap and water for at least 20 seconds. Handwashing is a crucial step to remove any dirt, germs, or bacteria that may contaminate the injection materials. Proper hand hygiene is essential to ensure a sterile environment for the preparation and administration of HCG injections.
After washing your hands, it’s time to gather all the necessary materials for the injection. Organizing the materials beforehand will save time and make the process more efficient. Below is a list of the materials you will need:
- HCG vials
- Bacteriostatic water
- Reconstitution syringe and needle
- Alcohol wipes
- Sharps container for safe disposal
Having all these materials ready ensures a smooth and uninterrupted preparation process. It also helps in preventing contamination and reduces the chances of errors during the process.
If you plan to inject the HCG after reconstitution, it’s important to prepare a second syringe, needle, and alcohol wipe to avoid any cross-contamination. This will help maintain the integrity and sterility of the reconstituted HCG solution.
Gathering Materials Table:
| Materials | Quantity |
|---|---|
| HCG vials | 1 |
| Bacteriostatic water | 1 vial |
| Reconstitution syringe and needle | 1 set |
| Alcohol wipes | As needed |
| Sharps container | 1 |
Gathering all the necessary materials ensures a smooth and efficient HCG injection preparation process. Having everything organized and ready reduces the chances of mistakes and contamination, leading to safer and more effective HCG injections.
Step 2: Prep Your Materials
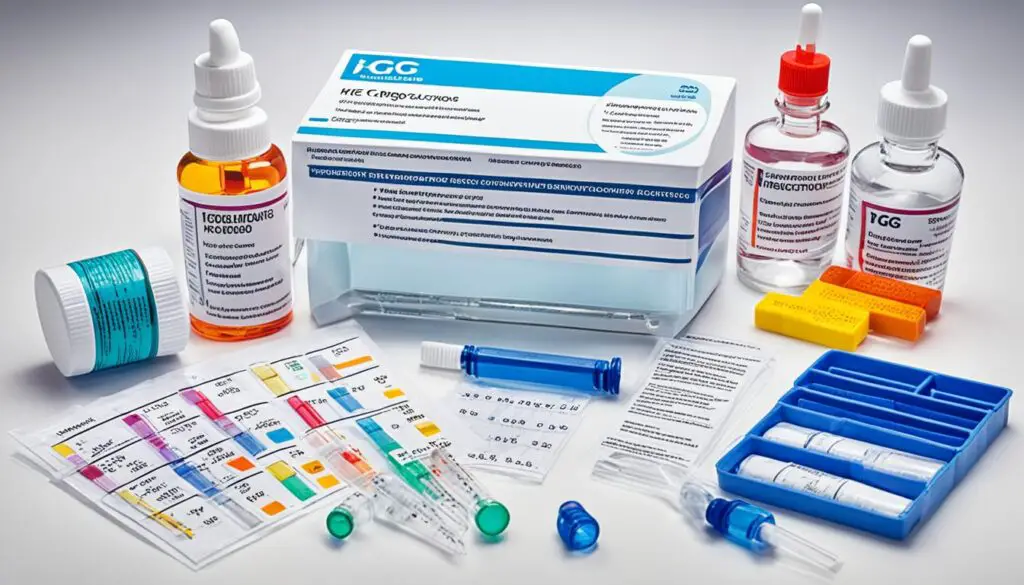
In this step, I will guide you through the process of prepping your materials to ensure the safe and contamination-free mixing of your HCG injections. Proper preparation is essential to maintain the integrity and effectiveness of your medication.
First, remove the caps from the bacteriostatic water and HCG vials. To prevent contamination, be cautious not to touch the needle with your fingers and avoid letting the needle rest on any other surface. The goal is to keep everything clean and sterile.
If you plan to inject the HCG after reconstitution, it’s important to place the second needle on its syringe and ensure the alcohol wipe is within reach. This way, you can clean the injection site before administering the HCG.
To summarize:
- Remove the caps from the vials.
- Sterilize the tops of each vial using an alcohol wipe.
- Avoid touching the needle and letting it touch any other surface.
- If injecting after reconstitution, prepare the second needle and alcohol wipe for cleaning the injection site.
By following these steps, you can effectively prep your materials and minimize the risk of contamination during the mixing and administration of your HCG injections.
Step 3: Draw Up Your Bacteriostatic Water
To proceed with the HCG injection preparation, the next step is drawing up the appropriate amount of bacteriostatic water. The amount of water required depends on the size of the HCG vial. For a 10,000 IU vial, you’ll typically need 10 mL of bacteriostatic water. It’s important to ensure accuracy in measurements for optimal results.
Begin by using a syringe that has clear milliliter (mL) markings. Pull in air to the required quantity matching the amount of bacteriostatic water needed. Then, carefully pierce the stopper of the bacteriostatic water vial using the needle.
Slowly inject the air into the vial, creating pressure that allows for easier withdrawal of the water. Once the air has been released, press the plunger gently to draw up the correct amount of bacteriostatic water into the syringe.
Remember to handle the syringe and needle carefully to avoid any contamination or damage. Take care not to touch the needle to avoid any potential harm.
Proper Syringe Measurements
Using a syringe with clear mL markings is essential for accurate measurements. It allows you to precisely gauge the amount of bacteriostatic water needed for your specific HCG vial. Ensure that the syringe is clean and free from any debris before drawing up the water.
Needle Piercing
Piercing the stopper of the bacteriostatic water vial with the needle requires a gentle yet steady approach. Keep the needle sterile by avoiding contact with any surfaces other than the vial stopper. Maintaining a clean and aseptic technique is crucial to prevent contamination.
Step 4: Inject Bacteriostatic Water into Lyophilized HCG
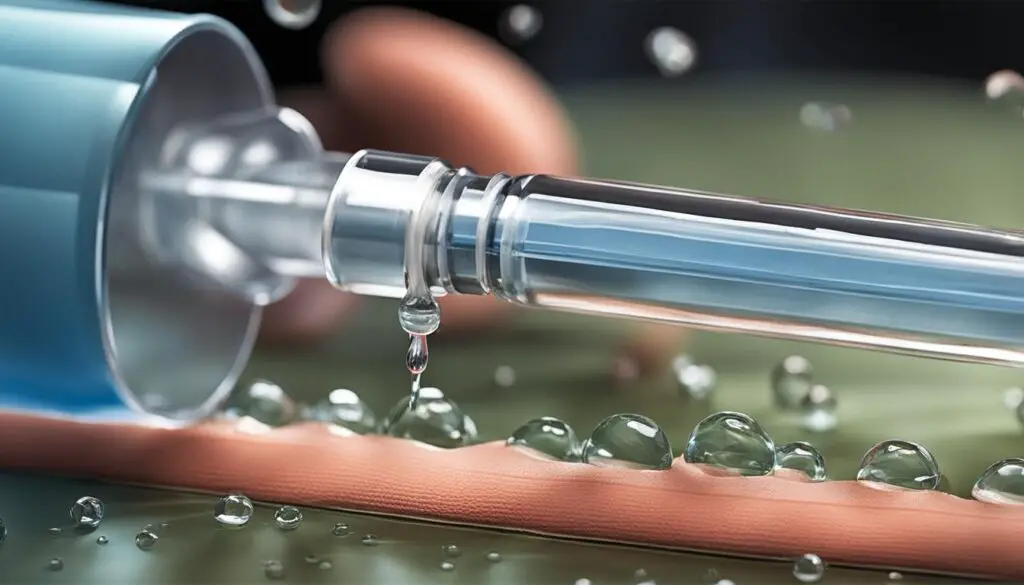
In this step, I will guide you through the process of injecting bacteriostatic water into lyophilized HCG. It is crucial to follow this step carefully to ensure the proper reconstitution of the HCG powder.
To start, you will need the water-filled syringe and the lyophilized HCG vial.
Note: Lyophilized HCG is a dehydrated form of the hormone that requires reconstitution with bacteriostatic water before use.
Here’s how to inject the water into the HCG vial:
- First, remove the cap from the lyophilized HCG vial.
- Take the water-filled syringe and pierce the stopper of the HCG vial with the needle. (Keyword: Injecting water)
- Slowly and gently push the bacteriostatic water into the vial, being careful not to force it. (Keyword: Slow injection, Avoiding force)
- If you feel any pressure while injecting, stop and allow it to equalize before continuing. It’s essential not to rush this step to ensure accurate reconstitution.
- It may take several pushes of the plunger to fully inject the water into the vial.
Note: The key is to go slowly and be cautious not to force the water into the HCG vial. This ensures proper reconstitution and prevents any damage to the HCG medication.
Once you have injected all the water into the HCG vial, remove the needle from the vial and dispose of it properly in a Sharps container.
Now we will move on to the next step, where we will gently mix the reconstituted HCG solution.
Step 5: Mix Your HCG
After injecting the bacteriostatic water into the HCG vial, gently swirl the solution until the powder and water have fully combined. Avoid shaking or aggressively mixing the medication. Once fully mixed, there should be no visible powder remaining in the vial. It is important to mix the HCG solution gently to ensure proper dissolution of the powder.
Step 6: Inject Your HCG if Desired
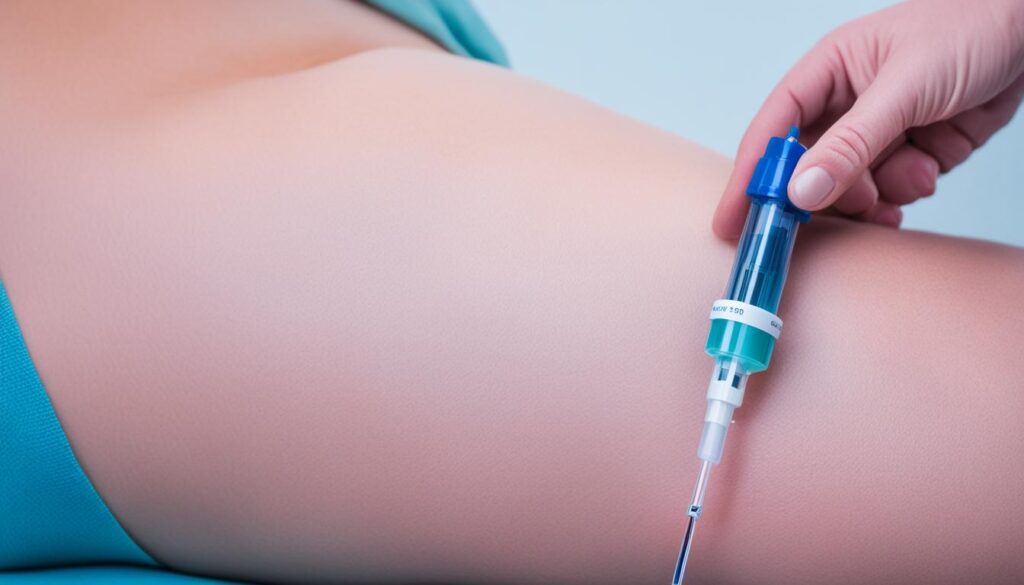
If you are ready to inject your HCG, it is important to follow proper administration techniques. First, ensure that you have a separate needle, syringe, and alcohol wipe for the injection. This helps maintain sterility and minimize the risk of infection.
HCG injections are typically administered subcutaneously, which means they are injected into the fatty tissue just below the skin. However, it is crucial to consult with your medical provider and pharmacy for specific guidance on the administration technique for your HCG injections. They will provide detailed instructions tailored to your individual needs.
When administering subcutaneous injections, it is essential to choose the correct injection site and follow the proper procedure. Common injection sites include the lower abdomen, upper thigh, or back of the upper arm. Cleanse the injection site with an alcohol wipe and allow it to dry before injecting.
Quote:
The key to a successful HCG injection is ensuring proper technique and following the guidance of your medical provider. Always consult with your healthcare professional to ensure you are administering your injections correctly.
After selecting the injection site and cleansing it, pinch the skin to create a small fold. Hold the syringe like a pencil and quickly insert the needle at a 45-degree angle into the designated site. Slowly push the plunger to inject the HCG solution subcutaneously. Once the injection is complete, remove the needle and gently press a clean cotton ball or alcohol wipe on the injection site to stop any bleeding. Dispose of the used needle in a Sharps container for safety.
Table: Injection Sites for HCG Injections
| Injection Site | Location |
|---|---|
| Lower abdomen | 1-2 inches to the left or right of the navel |
| Upper thigh | Outer front area, halfway between the hip and knee |
| Back of upper arm | Between the shoulder and elbow, towards the outer side |
Remember to consult your medical provider regarding the appropriate dosage and frequency of your HCG injections. They will provide you with precise instructions to ensure you achieve the desired results safely and effectively.
Image:
Step 7: Store Your HCG

Once you have reconstituted your HCG, it is crucial to store it properly to maintain its effectiveness. The storage conditions for HCG differ depending on whether it is in powdered form or reconstituted.
Prior to mixing, powdered HCG can be stored at room temperature. However, once you have added the bacteriostatic water and created the solution, it should be refrigerated immediately. This helps keep the HCG stable and prevents the growth of any bacteria or contaminants.
Reconstituted HCG typically has a lifespan of 60-90 days from the date of reconstitution when stored in the refrigerator. It is important to note the date of reconstitution and discard any unused portion that exceeds the recommended lifespan.
While it is best to refrigerate your reconstituted HCG, if it is accidentally left out at room temperature for a short duration, it may still be usable. However, it is advised to avoid leaving it out for an extended period, as this can potentially impact its potency and effectiveness.
By storing your HCG properly, you can ensure its longevity and maintain its effectiveness throughout your treatment regimen.
Summary
Proper storage of HCG is essential for maintaining its potency and effectiveness. Follow these storage guidelines:
- Store powdered HCG at room temperature prior to mixing.
- Refrigerate reconstituted HCG immediately after mixing.
- Use reconstituted HCG within 60-90 days from the date of reconstitution.
- Avoid leaving reconstituted HCG out at room temperature for an extended period.
Conclusion
Mixing HCG injections safely is essential to ensure effective results. By following the guidelines for proper handwashing, material preparation, water drawing, injection, mixing, and storage, individuals can safely prepare and administer HCG injections. It is important to work with a medical provider to determine the appropriate dosage and frequency and to follow their instructions for administration. By adhering to these safety guidelines, individuals can ensure safe practices and achieve the desired outcomes.
When mixing HCG injections, start by washing your hands thoroughly with soap and water for at least 20 seconds. Gather all the necessary materials, including alcohol wipes, bacteriostatic water and HCG vials, reconstitution syringe and needle, and a Sharps container for safe disposal. Prepping materials involves sterilizing the tops of the vials using alcohol wipes and avoiding contamination by not touching the needle with your fingers.
Next, draw up the appropriate amount of bacteriostatic water into the syringe and inject it into the HCG vial. Take care to avoid contaminating the HCG vial with the needle. After injecting the water, gently swirl the solution until the powder and water have fully combined. It is important to mix the HCG solution gently to ensure proper dissolution of the powder. If you plan to inject the HCG, follow the guidance of your medical provider and pharmacy for administration.
Finally, store the reconstituted HCG in the refrigerator. Prior to mixing, powdered HCG can be stored at room temperature. Reconstituted HCG can typically be used for up to 60-90 days from the date of reconstitution. By following these safety guidelines, individuals can ensure safe practices and achieve effective results when mixing and using HCG injections.
FAQ
What are the safety guidelines for mixing HCG injections?
When mixing HCG injections, it is important to follow certain safety guidelines. These include washing your hands thoroughly, gathering all necessary materials, prepping your materials, drawing up the appropriate amount of bacteriostatic water, injecting the water into the HCG vial, mixing the HCG solution gently, and storing the reconstituted HCG in the refrigerator.
How do I wash my hands and gather the necessary materials for HCG injection mixing?
To wash your hands, use soap and water for at least 20 seconds. For gathering materials, you will need alcohol wipes, bacteriostatic water and HCG vials, a reconstitution syringe and needle, and a Sharps container for safe disposal. If you plan to inject the HCG after reconstitution, prepare a second syringe, needle, and alcohol wipe for injection.
How do I prep my materials for HCG injection mixing?
After washing your hands, remove the caps from the bacteriostatic water and HCG vials. Sterilize the tops of each vial using an alcohol wipe, taking care not to touch the needle with your fingers. If you plan to inject the HCG after reconstitution, place the second needle on its syringe and have an alcohol wipe readily available for cleaning the skin before injection.
How do I draw up bacteriostatic water for HCG injection mixing?
The amount of bacteriostatic water you add to the HCG vial depends on its size. Use a syringe with milliliter measurements to pull air up to the required amount. Pierce the stopper of the bacteriostatic water vial with the needle and slowly inject the air into the vial. Press the plunger to release the air until the appropriate amount of bacteriostatic water is in the syringe.
How do I inject the bacteriostatic water into the lyophilized HCG?
Pierce the stopper of the HCG vial with the needle of your water-filled syringe. Slowly and gently push the bacteriostatic water into the vial, taking care not to force it. If you feel any pressure, stop and allow it to equalize before continuing. It may take several pushes of the plunger to fully inject the water into the vial.
How do I mix the HCG solution?
After injecting the bacteriostatic water into the HCG vial, gently swirl the solution until the powder and water have fully combined. Avoid shaking or aggressively mixing the medication. Once fully mixed, there should be no visible powder remaining in the vial. It is important to mix the HCG solution gently to ensure proper dissolution of the powder.
How do I inject the reconstituted HCG?
If you plan to inject your HCG, use a second needle, syringe, and alcohol wipe for administration. HCG injections are typically done subcutaneously, but it is important to follow the guidance of your medical provider and pharmacy. They will provide detailed instructions on the appropriate dosage and frequency of injection.
How should I store the reconstituted HCG?
Once the HCG is reconstituted, it should be immediately refrigerated. Prior to mixing, powdered HCG can be kept at room temperature. Reconstituted HCG can typically be used for up to 60-90 days from the date of reconstitution. If the HCG is accidentally left out of the fridge, it may still be usable, but it is best to avoid leaving it out for an extended period.
What are the key points to remember about mixing HCG injections safely?
Mixing HCG injections safely involves following the guidelines for handwashing, material preparation, water drawing, injection, mixing, and storage. It is important to work with a medical provider to determine the appropriate dosage and frequency and to follow their instructions for administration. By adhering to these safety guidelines, individuals can ensure safe practices and achieve desired outcomes.

